Intro
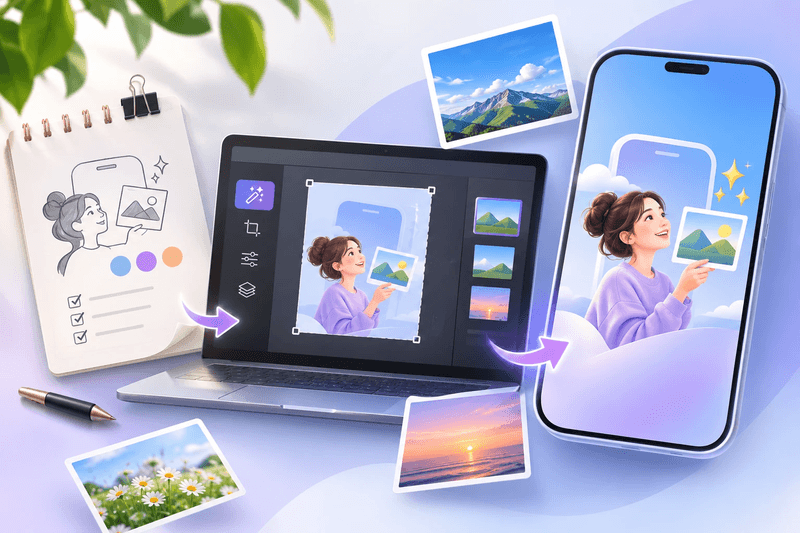
An anime character needs a stable visual identity before it needs a dramatic moving shot. Hair shape, clothing, color, and a few distinctive features help the viewer recognize the same person across a sequence. If those details change every time you generate a new asset, editing the shots together becomes difficult.
This tutorial follows an original character from a written brief to a short motion test. You'll make a reference image, plan a restrained scene, assess a video effect route, and assemble a reviewed clip. The method focuses on a character you create yourself rather than reproducing a named artist's work or borrowing an existing franchise character.
What you need before you start
Choose a simple concept you can describe without a picture. An example is a young courier with short dark hair, a mustard jacket, and a square blue bag. Give the character one visible goal, such as waiting at a station with a delivery. That goal provides direction for the scene without requiring a full story.
Prepare a folder for your character brief, reference images, and video attempts. Decide the final screen shape and where captions will sit. If you plan to use someone else's artwork as input, confirm that you have the necessary permission before moving into generation or editing.
Step 1: Create a readable character reference
Use the GPT Image 2.6 AI Image Generator destination as a route to evaluate for a reference image. Check its current inputs and options first. The supplied model name identifies the page you're considering; it doesn't establish a tested advantage for character consistency or animation.
Write a concise identity block. Include the character's hair silhouette, clothing shape, dominant colors, and one accessory. Then describe a plain pose against an uncluttered background. A full scene with dramatic light can look appealing, but a clean reference makes design errors easier to see.
For the courier example, a useful request might describe the mustard jacket, blue shoulder bag, simple trousers, and a front-facing neutral stance. Avoid a tiny emblem or intricate jewelry as the main identifying feature. Details that are barely visible in a still are unlikely to help the viewer follow a moving shot.
Step 2: Define a motion concept the video route can support
Review the Genjutsu AI Video Generator page to see the inputs and effect options currently available. An effect-specific route may differ from a general animation workflow. Build your plan around its actual supported function rather than assuming it offers a complete character rig, timeline, or editing system.
The All-in-One Platform for Effective SEO
Behind every successful business is a strong SEO campaign. But with countless optimization tools and techniques out there to choose from, it can be hard to know where to start. Well, fear no more, cause I've got just the thing to help. Presenting the Ranktracker all-in-one platform for effective SEO
We have finally opened registration to Ranktracker absolutely free!
Create a free accountOr Sign in using your credentials
Choose one short moment for the first test. If the route accepts a suitable character image, use the approved reference and follow its current input guidance. If it doesn't support the action you imagined, revise the concept or use the effect as a separate stylized moment in the sequence.
A restrained shot might focus on the courier waiting as the background changes subtly. More complex action, such as running through a crowded station while turning toward the camera, creates more details to inspect. Start with a moment that lets you judge the character before adding spectacle.
Step 3: Build a small identity sheet
Choose the reference image that best matches your written design, then record the features you intend to preserve. Keep this sheet visible while reviewing other assets. It should describe a recognizable character, not a collection of adjectives such as “cool” or “cinematic.”
| Identity detail | Example choice | Review point |
| Hair silhouette | Short, slightly uneven fringe | Does the outline remain recognizable? |
| Main clothing | Mustard jacket with a simple collar | Does the color and overall shape stay stable? |
| Accessory | Square blue shoulder bag | Does it stay attached in a plausible position? |
| Face treatment | Simple original anime design | Do proportions drift between frames? |
| Scene role | Courier waiting with a delivery | Is the action readable without explanation? |
The sheet also helps you reject attractive variations that belong to a different design. If the bag becomes a backpack or the jacket changes to a cape, don't quietly adopt the change halfway through the sequence. Either revise the output or deliberately update the identity before making more shots.
Keep a small number of approved references. Too many conflicting images can make the design harder to follow. A clear reference and a short written brief are often more useful than a large gallery of loosely related possibilities.
Step 4: Generate and inspect the first motion test
Make a short attempt using the available supported controls. Save the input image, request, and output under related names so you can reproduce the pairing. If a setting is unavailable, leave it out of the plan rather than assuming the system applied it automatically.
Watch once for the overall action. The character should remain easy to identify, and the intended moment should be understandable. Then inspect the face, hands, clothing edges, and accessory at several points. A dramatic effect can draw attention away from a changing face, so check both separately.
Look for motion that changes the character's design. A sleeve can become longer, a bag strap can disappear, or a hand can merge with a prop. If an essential feature drifts, simplify the action or choose a pose with fewer overlapping parts. Don't rely on a fast cut to hide a defect that dominates the shot.
Step 5: Make a second shot with a different story job
Once the first moment works, decide what the sequence still needs. A close view of the delivery bag might establish the mission. A wide still of the station could establish the setting. Choose the next asset for that purpose rather than generating another version of the same pose.
Reuse the identity block when creating related images. Keep the character design stable and change the composition or scene purpose. If the workflow supports reference inputs, check their current behavior with a small test before assuming they guarantee continuity.
The All-in-One Platform for Effective SEO
Behind every successful business is a strong SEO campaign. But with countless optimization tools and techniques out there to choose from, it can be hard to know where to start. Well, fear no more, cause I've got just the thing to help. Presenting the Ranktracker all-in-one platform for effective SEO
We have finally opened registration to Ranktracker absolutely free!
Create a free accountOr Sign in using your credentials
Place the two assets next to each other in an editor. A color mismatch or changed body proportion can become more obvious in a direct cut than in separate previews. You may be able to make a minor color correction, but a changed character design usually calls for a different asset.
Step 6: Add timing and sound in the edit
Trim the accepted shots so the action begins promptly. Let a still remain on screen long enough to establish the character or setting. A sequence doesn't need continuous movement to feel intentional; a held image can give the viewer time to understand a new detail.
Use sound with a clear purpose. A station ambience can establish location, while a short cue can emphasize a change. Confirm you can use any audio you add. Keep important dialogue or captions understandable without depending on a loud effect.
Add names, titles, and other exact words as editable layers. A character badge drawn inside the image may change during motion, while text placed in the editor remains consistent. Check that the lettering doesn't cover the face or the accessory used to identify the character.
Step 7: Review the sequence as a viewer
Play the exported draft without stopping. Ask if the character, location, and purpose are clear. If the courier appears to be waiting for a train rather than making a delivery, the sequence may need a clearer story cue. Correct the communication before adding more effects.
Next, compare important frames with the identity sheet. Check the beginning and end of every shot as well as transitions. A consistent opening frame isn't enough if the clothing or face changes later. Inspect the saved file, because the final crop can hide an accessory that was visible in the editor.
The All-in-One Platform for Effective SEO
Behind every successful business is a strong SEO campaign. But with countless optimization tools and techniques out there to choose from, it can be hard to know where to start. Well, fear no more, cause I've got just the thing to help. Presenting the Ranktracker all-in-one platform for effective SEO
We have finally opened registration to Ranktracker absolutely free!
Create a free accountOr Sign in using your credentials
Keep your original brief and accepted assets together. Record the reason each shot was approved and the limitations you encountered. That note gives the next episode a practical starting point without pretending every later action will be equally easy to produce.
Tips that save time
Design for the size at which the character will appear. Broad clothing shapes and a distinct accessory read better on a phone than fine stitching or a tiny pin. Test the reference as a small thumbnail before building the full sequence.
Separate character identity from mood. Lighting can change between scenes, but the core design should remain recognizable. If a night scene obscures the jacket color, keep the silhouette and accessory clear enough to do the identification work.
Limit complicated interactions in early tests. A character holding several objects while turning can produce overlapping shapes that are hard to assess. Establish a stable simple pose first, then add one interaction at a time.
Common mistakes
A frequent mistake is asking one tool to create a complete anime episode in one request. Break the idea into moments with clear visual roles. This gives you places to replace a weak shot without abandoning the entire sequence.
Another mistake is accepting a different character because the new picture looks better. Keep the identity sheet as the approval standard. Attractive artwork can still be wrong for the sequence if it changes the person the viewer is following.
Wrapping up
Begin with an original design that reads clearly in a still. Use that reference to evaluate a small motion concept, inspect the character across the clip, and add a second shot only when it advances the story. A recognizable character doing one clear thing gives you a stronger foundation than an ambitious sequence whose identity changes from frame to frame.