Intro
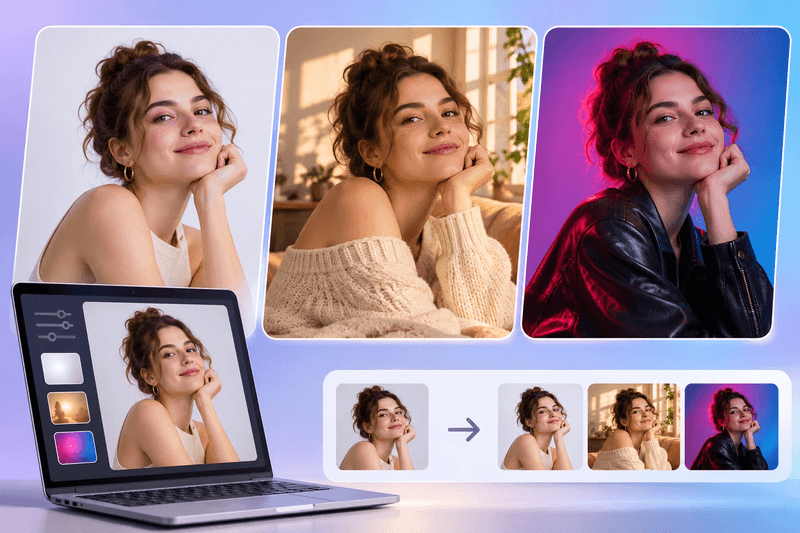
A Seedance 2.0 video project becomes easier to manage when you plan it as a few connected shots. Give each shot one purpose, then decide which information belongs in motion and which can be shown more clearly in a still image. That division helps you avoid asking one generation to carry an entire explanation.
This tutorial uses a short educational opener as the working example. You'll plan the sequence, prepare supporting images, generate a video test, and assemble a reviewed draft. The workflow uses the supplied Seedance 2.0 destination as an entry point, with settings and input types determined by what that page currently offers.
What you need before you start
Write a one-sentence message for the video. For an introduction to indoor herb growing, the message could be: “A small windowsill garden can make a simple daily routine easier to understand.” Then list the visible elements that support it, such as a pot, a window, and a watering can.
Choose your intended placement and screen shape. Gather any reference material you have permission to use, along with exact words that will appear as captions. Keep a separate note for facts you need to verify. An attractive generated plant is not a reliable reference for species identification or care advice.
Step 1: Check the route and define the first shot
Open the free Seedance 2.0 AI Video Generator page and confirm the currently available options before shaping the project around them. Check accepted inputs, output choices, and any conditions attached to a free attempt. The supplied name identifies the route; it isn't a verified statement about release history or comparative performance.
Plan the first shot as a single visible event. In the herb example, a gentle view of pots beside a window may be enough to establish the setting. Write the subject, the movement, and what must remain stable. If the page supports only a different input mode than you expected, adapt the shot plan to that supported mode.
Keep the wording concrete: “Three small herb pots beside a bright kitchen window, leaves moving slightly, camera steady.” Don't add precise botanical claims unless the visual has been checked against a trustworthy reference.
Step 2: Create the supporting still image
Use a separate still to carry an idea that doesn't need continuous motion. A Free AI Image Generator Online route can be evaluated for a companion illustration, cover frame, or visual explanation. Check its current terms and available inputs before generating, and save the image separately from the video outputs.
The All-in-One Platform for Effective SEO
Behind every successful business is a strong SEO campaign. But with countless optimization tools and techniques out there to choose from, it can be hard to know where to start. Well, fear no more, cause I've got just the thing to help. Presenting the Ranktracker all-in-one platform for effective SEO
We have finally opened registration to Ranktracker absolutely free!
Create a free accountOr Sign in using your credentials
For the herb project, you might want a clean illustration of the planned windowsill arrangement. Describe the same light direction, pot colors, and background as the video brief. Consistent descriptions give you a clearer basis for selecting related assets, though they don't guarantee identical results across tools.
Decide how this still will be used. It can sit between moving shots, introduce a section, or become a thumbnail. Only use it as a video reference input if the video page actually supports that function. A supporting asset and a supported generation input are different roles.
Step 3: Turn the idea into a short storyboard
Write a compact storyboard before expanding the generation work. A storyboard is simply an ordered plan of what the viewer sees. Keep it small enough that you can explain the purpose of every frame without referring to the tools.
| Shot | Visual job | Possible asset |
| Opening | Establish the windowsill setting | A restrained generated video |
| Explanation | Show the planned arrangement clearly | A reviewed supporting still |
| Closing | Give one practical next step | An editable text card |
This sequence doesn't require the video generator to create an entire lesson. It asks for one useful moving moment, then uses more controllable formats for explanation and exact wording. That makes the project easier to revise when the educational content changes.
Add a continuity note for shared details. If the opening uses dark pots, a bright white illustrated pot in the next shot may look like a different setting. Choose the details worth matching, then allow less important background features to vary.
Step 4: Generate a small video test
Submit the first supported request using the available controls that suit your storyboard. Keep the initial scene simple and save the output before changing anything. Record the request and selected settings in the same folder so later comparisons have a clear starting point.
Watch for the motion you asked for. In the herb example, leaf movement should remain modest and the pots should not change shape. If the camera moves unexpectedly, decide if that change serves the sequence. Reject it when it makes the educational framing confusing, even if the shot looks attractive.
Inspect straight edges and repeating shapes. Windows, shelves, and patterned containers can expose distortions that are easy to miss during a quick preview. Check the actual plant silhouette too. A believable scene can still contain details that make it unsuitable for an instructional setting.
Step 5: Revise the shot against the storyboard
Choose one problem to address. If too many background objects appear, simplify the scene. If the motion is excessive, request a quieter action where supported. If the subject itself is unclear, return to the description and remove details that compete for attention.
Don't use a new request to fix every weakness at once. Keep the setting and subject stable while you test the movement. Once the motion is acceptable, decide if the color and framing need another revision. This order gives each attempt a clear reason.
The All-in-One Platform for Effective SEO
Behind every successful business is a strong SEO campaign. But with countless optimization tools and techniques out there to choose from, it can be hard to know where to start. Well, fear no more, cause I've got just the thing to help. Presenting the Ranktracker all-in-one platform for effective SEO
We have finally opened registration to Ranktracker absolutely free!
Create a free accountOr Sign in using your credentials
Compare the accepted video with the supporting still side by side. Look for obvious differences in light, color, and object arrangement. You can either revise an asset or introduce the still as a diagram rather than pretending it is another view of exactly the same scene.
Step 6: Assemble the sequence with editable text
Place the accepted assets in your video editor in storyboard order. Trim any unstable opening or closing frames. Adjust the length of the still so the viewer can understand it without the pace becoming slow. A short educational video needs room for reading, not just movement.
Add exact instructions as text layers. Keep species names, quantities, and care advice out of generated lettering when accuracy matters. Review the words separately from the picture, then check that the picture actually supports them. If the image is illustrative, avoid using it as proof of a factual result.
Use a simple transition unless a more visible effect has a purpose. A cut or a modest fade can keep attention on the explanation. Elaborate transitions may make unrelated assets appear connected, but they won't repair differences in the underlying scene.
Step 7: Review and export the complete draft
Watch the full sequence without pausing and ask if a new viewer can understand the message. Then inspect each shot for visual defects. These are separate checks: a technically clean clip can still be confusing, and a clear story can still contain a visibly distorted object.
Export the draft and play the saved file. Check the framing, caption readability, sound if present, and final frame. Confirm that the thumbnail matches the actual subject rather than promising a different kind of video. Keep the editable project in case a factual caption needs correction later.
The All-in-One Platform for Effective SEO
Behind every successful business is a strong SEO campaign. But with countless optimization tools and techniques out there to choose from, it can be hard to know where to start. Well, fear no more, cause I've got just the thing to help. Presenting the Ranktracker all-in-one platform for effective SEO
We have finally opened registration to Ranktracker absolutely free!
Create a free accountOr Sign in using your credentials
Archive the request, accepted outputs, and any approval notes with the final export. This is especially useful for a lesson series, where the next video may need the same visual language. A documented process helps you repeat the style without repeating the same scene.
Tips that save time
Use still images where clarity matters more than movement. A diagram, checklist, or overview often works better as a static asset with editable labels. Save video generation for moments where movement adds context, mood, or an observable action.
Keep continuity requirements short. A few stable details, such as the dominant color and light direction, are easier to review than an elaborate specification for every background object. The viewer needs a coherent sequence, not a perfect reproduction of every imagined detail.
Create a small acceptance checklist before making more shots. For this project, it might include readable plants, stable containers, an unobstructed caption area, and no unexplained object changes. If a shot fails those checks repeatedly, choose a simpler composition rather than expanding the prompt indefinitely.
Common mistakes
A common mistake is treating a named model page as proof that every tutorial control will be available. Interfaces and supported inputs can change. Start with the actual page and adapt the production plan to the options you can use now.
Another mistake is generating stills after the whole video has been assembled. Plan their purpose early so their shape, lighting, and empty space fit the sequence. Otherwise, a useful image can become an awkward insert that needs heavy cropping.
Wrapping up
Build one clear sequence before attempting a longer production. Give motion a specific job, create supporting images for explanation, and keep factual text editable. Once the exported draft communicates the intended lesson and passes visual review, save the storyboard as a starting point for the next episode.